Create a Backup of a Virtual Server
If you'd like to take a backup of your Cloud server, here's how you do it:
Access Your HostDime Cloud Account
This is how you access your Cloud server's main page in HostDime's Cloud.
- Log into your CORE account and click Cloud under the Products menu.
- Click the Login to Cloud Portal button.
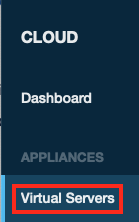
- Now you will be on our Cloud dashboard page. Click on the Virtual Servers item in the sidebar to switch to a view of your virtual servers.
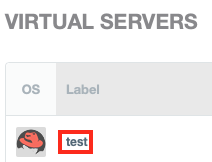
- You will see a list of all of the virtual servers you've created. Click on the Label for the server you want to work with.
- This will take you to a page where you can see up-to-the-minute statistics and work with your virtual server.
Taking an Immediate Cloud Backup
Here's how to backup your Cloud server:
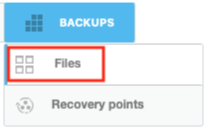
- Click on the Backups button.
- Select Files from the drop-down list.
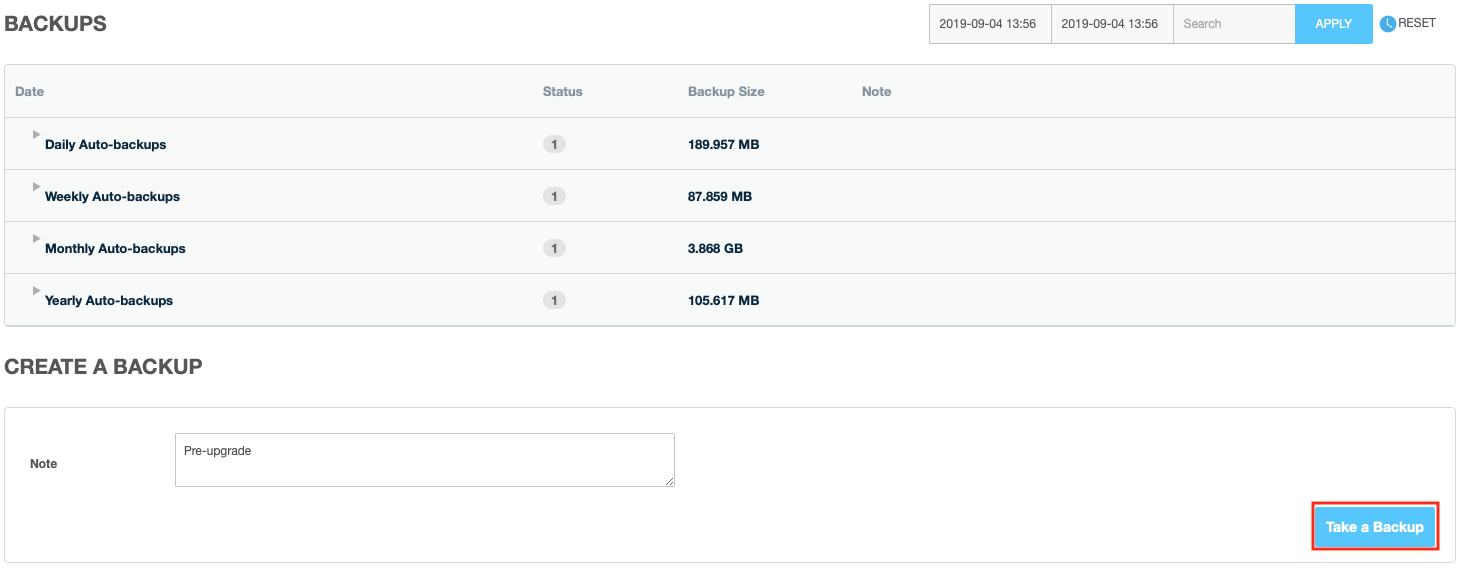
- On this screen you will see the list of existing backup and at the bottom the location to create a new manual backup.
- Enter an optional Note that will be displayed with the backup on this screen (once it completes successfully).
- Click Take a Backup to start the backup process. The backup will commence in the background and you will be able to see the progress on the main Virtual Server page.
- The backup will be scheduled to start as soon as possible and you can watch the progress from the Manual Backups section at the top of this screen.
Once complete, you will be able to work with your new backup from the list of backups at the top of the Backups > Files screen.
Scheduling a Backup
You can also schedule backups to be taken automatically at regular intervals.
- Click on the Backups button.
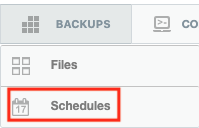
- Select Schedules from the drop-down list.
- Click the New Schedule button to create a new scheduled backup process.
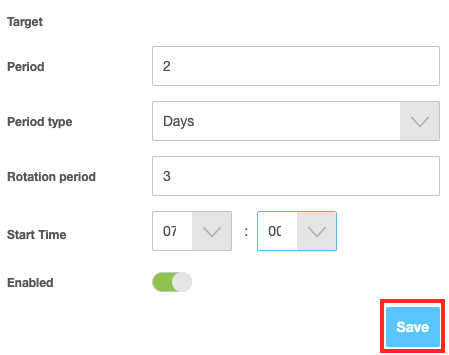
- Fill in the backup schedule as appropriate:
- The Target will show you what virtual server this scheduled backup will apply to.
- The Period should be a number that controls how frequently the automatic backup is made (in conjunction with the Period Type below).
- Select the Period type from the drop-down list. It can be days, weeks, months, or years.
- Rotation period tells the system how many automatic backups to keep from this schedule.
- The Start Time is set in 24-hour time. This will control when the backup gets started. This feature uses the time set by our Cloud control panel, not that of the virtual server.
- If the backup schedule is Enabled, it will be automatically taken at the times specified.
- Click the Save button to apply these changes.
- The backup(s) will start getting taken the next time the Start Time comes around. If you want an immediate backup, do a manual backup instead.
Here's an example of the automatic backup scheduling feature:
If you set the Period to 2 and the Period type to Days, and the Rotation period to 3, our Cloud portal will back this virtual server up every other day and keep the most recent 3 backups.


