How to Create a Feature List
Step 1: Log into WHM
Step 2: Go to Feature Manager
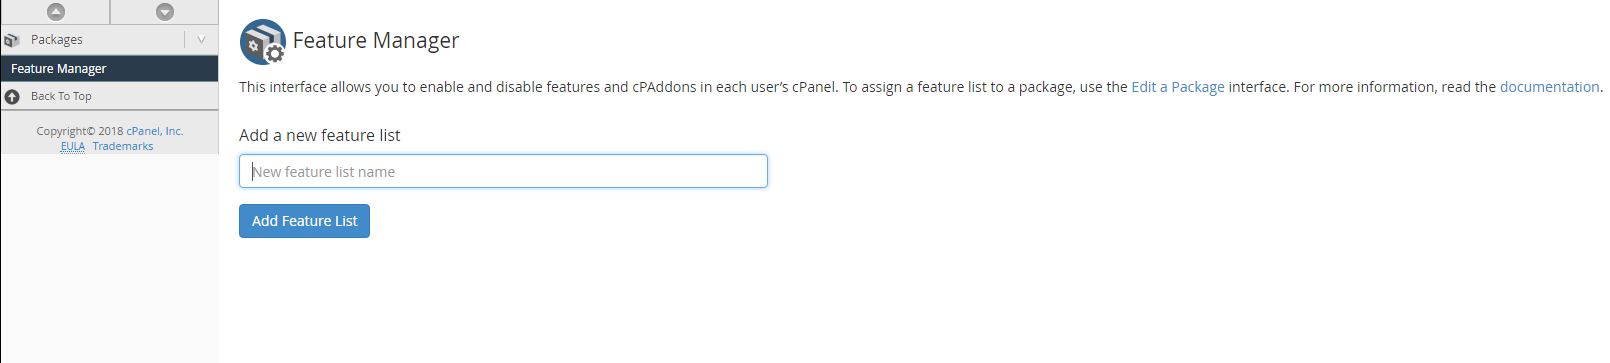
Step 3: Name your list and click Add Feature List.
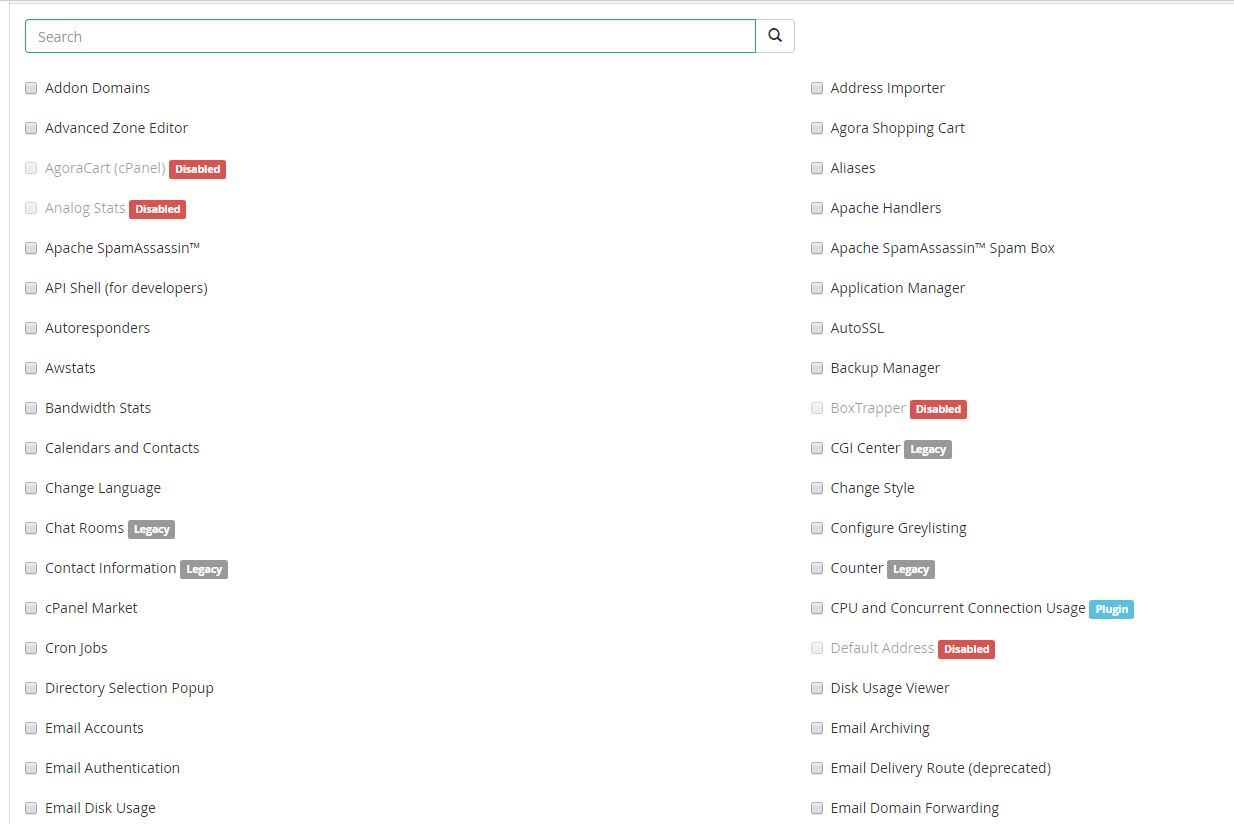
Step 4: You will now see the options you have to select from for your newly created list.
For example, if you want your clients to have the ability to install SSL certificates, you can check the option called "SSL Host Installer".
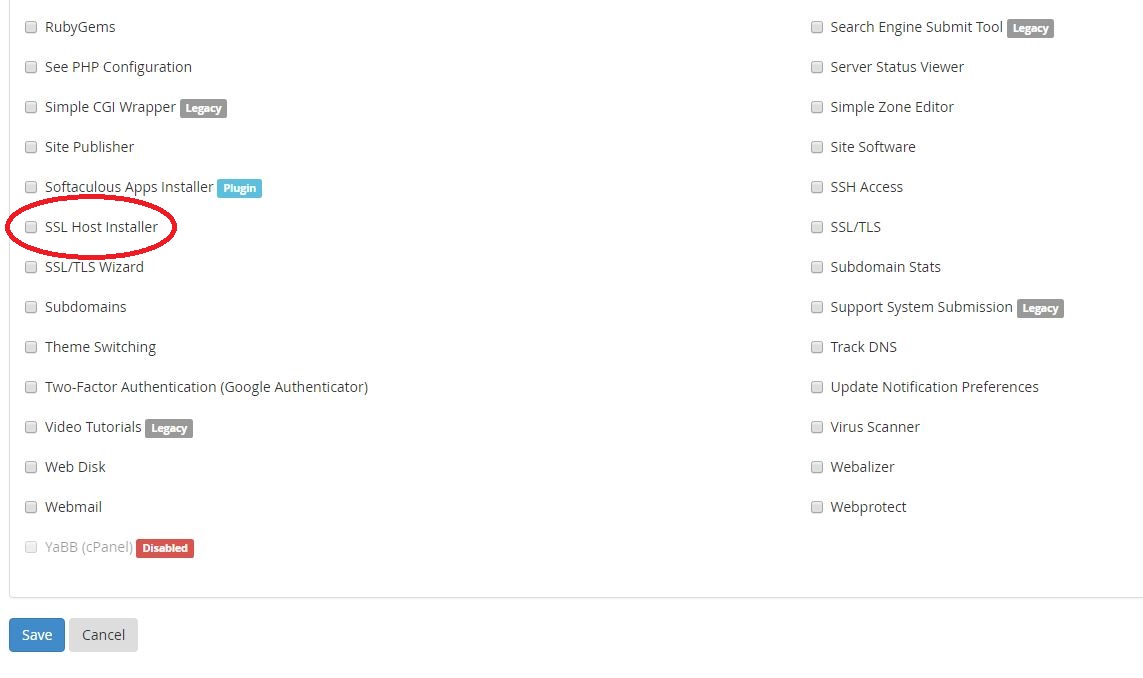
Step 5: Click Save.
For Resellers, we have everything except for the following enabled by default:
Step 6: Add clients to your feature list(s). Go to Edit a Package and select a package that will use the new feature list. Click Edit.

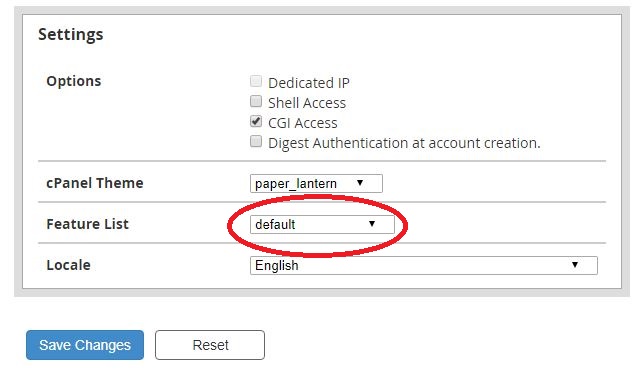
Step 7: Go to the settings section at the bottom. Change the default feature list to the one you just created. This feature list will now be applied to any client using this particular hosting package. Click Save Changes.
*For any questions regarding this article, please log into your CORE Profile to contact our Technical Support department.
Step 2: Go to Feature Manager
Step 3: Name your list and click Add Feature List.
Step 4: You will now see the options you have to select from for your newly created list.
For example, if you want your clients to have the ability to install SSL certificates, you can check the option called "SSL Host Installer".
Step 5: Click Save.
For Resellers, we have everything except for the following enabled by default:
- API Shell
- Change Language
- SSL Host Installer
Step 6: Add clients to your feature list(s). Go to Edit a Package and select a package that will use the new feature list. Click Edit.
Step 7: Go to the settings section at the bottom. Change the default feature list to the one you just created. This feature list will now be applied to any client using this particular hosting package. Click Save Changes.
*For any questions regarding this article, please log into your CORE Profile to contact our Technical Support department.